Several years ago, when my sister was in elementary school, she went through a crocheting phase. I don’t remember where she picked it up, just that she was pretty into it for a few years. At one point I asked her to make me a scarf, but she said that it would take several hours of work to make it happen. Now that I think about it, she never actually finished many projects. Recently, I’ve been loving that knit scarves are coming back into style because they’re great for keeping warm when we get any sliver of cold weather. While I had heard of arm knitting, I never actually thought it would work, so when my friend offered to show me how to do it, I didn’t want to pass up the opportunity.
What You Need
– 120 yds of yarn
– Scissors
– Your arms
Instructions
1. First, you’re going to want to measure out your tail. Your tail is about six to eight arm lengths of yarn that you measure out initially. This will help you when you “cast on” your first row of stitches. The end of yarn coming out of the yarn is called your “working yarn.”
2. Next you’re going to tie a slip knot. To do this, you’re going to want to make a loop with your working yarn over the tail end and pull through the working yarn to make a loop. Slip this over your wrist.
3. Now you’re going to cast on your first row of stitches. You’re going to grab the tail end and working end of the yarn. Using your thumb and index finger, you’re going to bring them into and out of the yarn to make a sort of cross section.
4. Take the hand that you’re casting on to and bring it under the yarn sitting below your thumb and over the yarn coming down from your pointer finger and through that loop onto your wrist.
5. Repeat this for as wide as you want your scarf, about 12-15 stitches.
6. Now begin to move all the stitches from one arm to the other. Grab the working yarn with the hand that has the stitches, take one stitch and bring it over the hand and drop it and then slide the new loop onto your other arm. Do this for all the remaining stitches.
7. Continue moving the stitches back and forth from arm to arm 27-30 times.
8. Finally, you’re going to “cast off.” In order to do this, grab the working yarn and do two stitches normally after you’ve finished your last row of stitches. Then, you’re going to take the stitch closest to your body, bring it over your hand and drop it.
9. Add another stitch like you would normally do, take the stitch closest to your body, bring it over your hand and drop it. Continue doing so until you’ve done the last stitch.
10. Finally, you’re going to tie a knot with the remaining yarn and cut it.
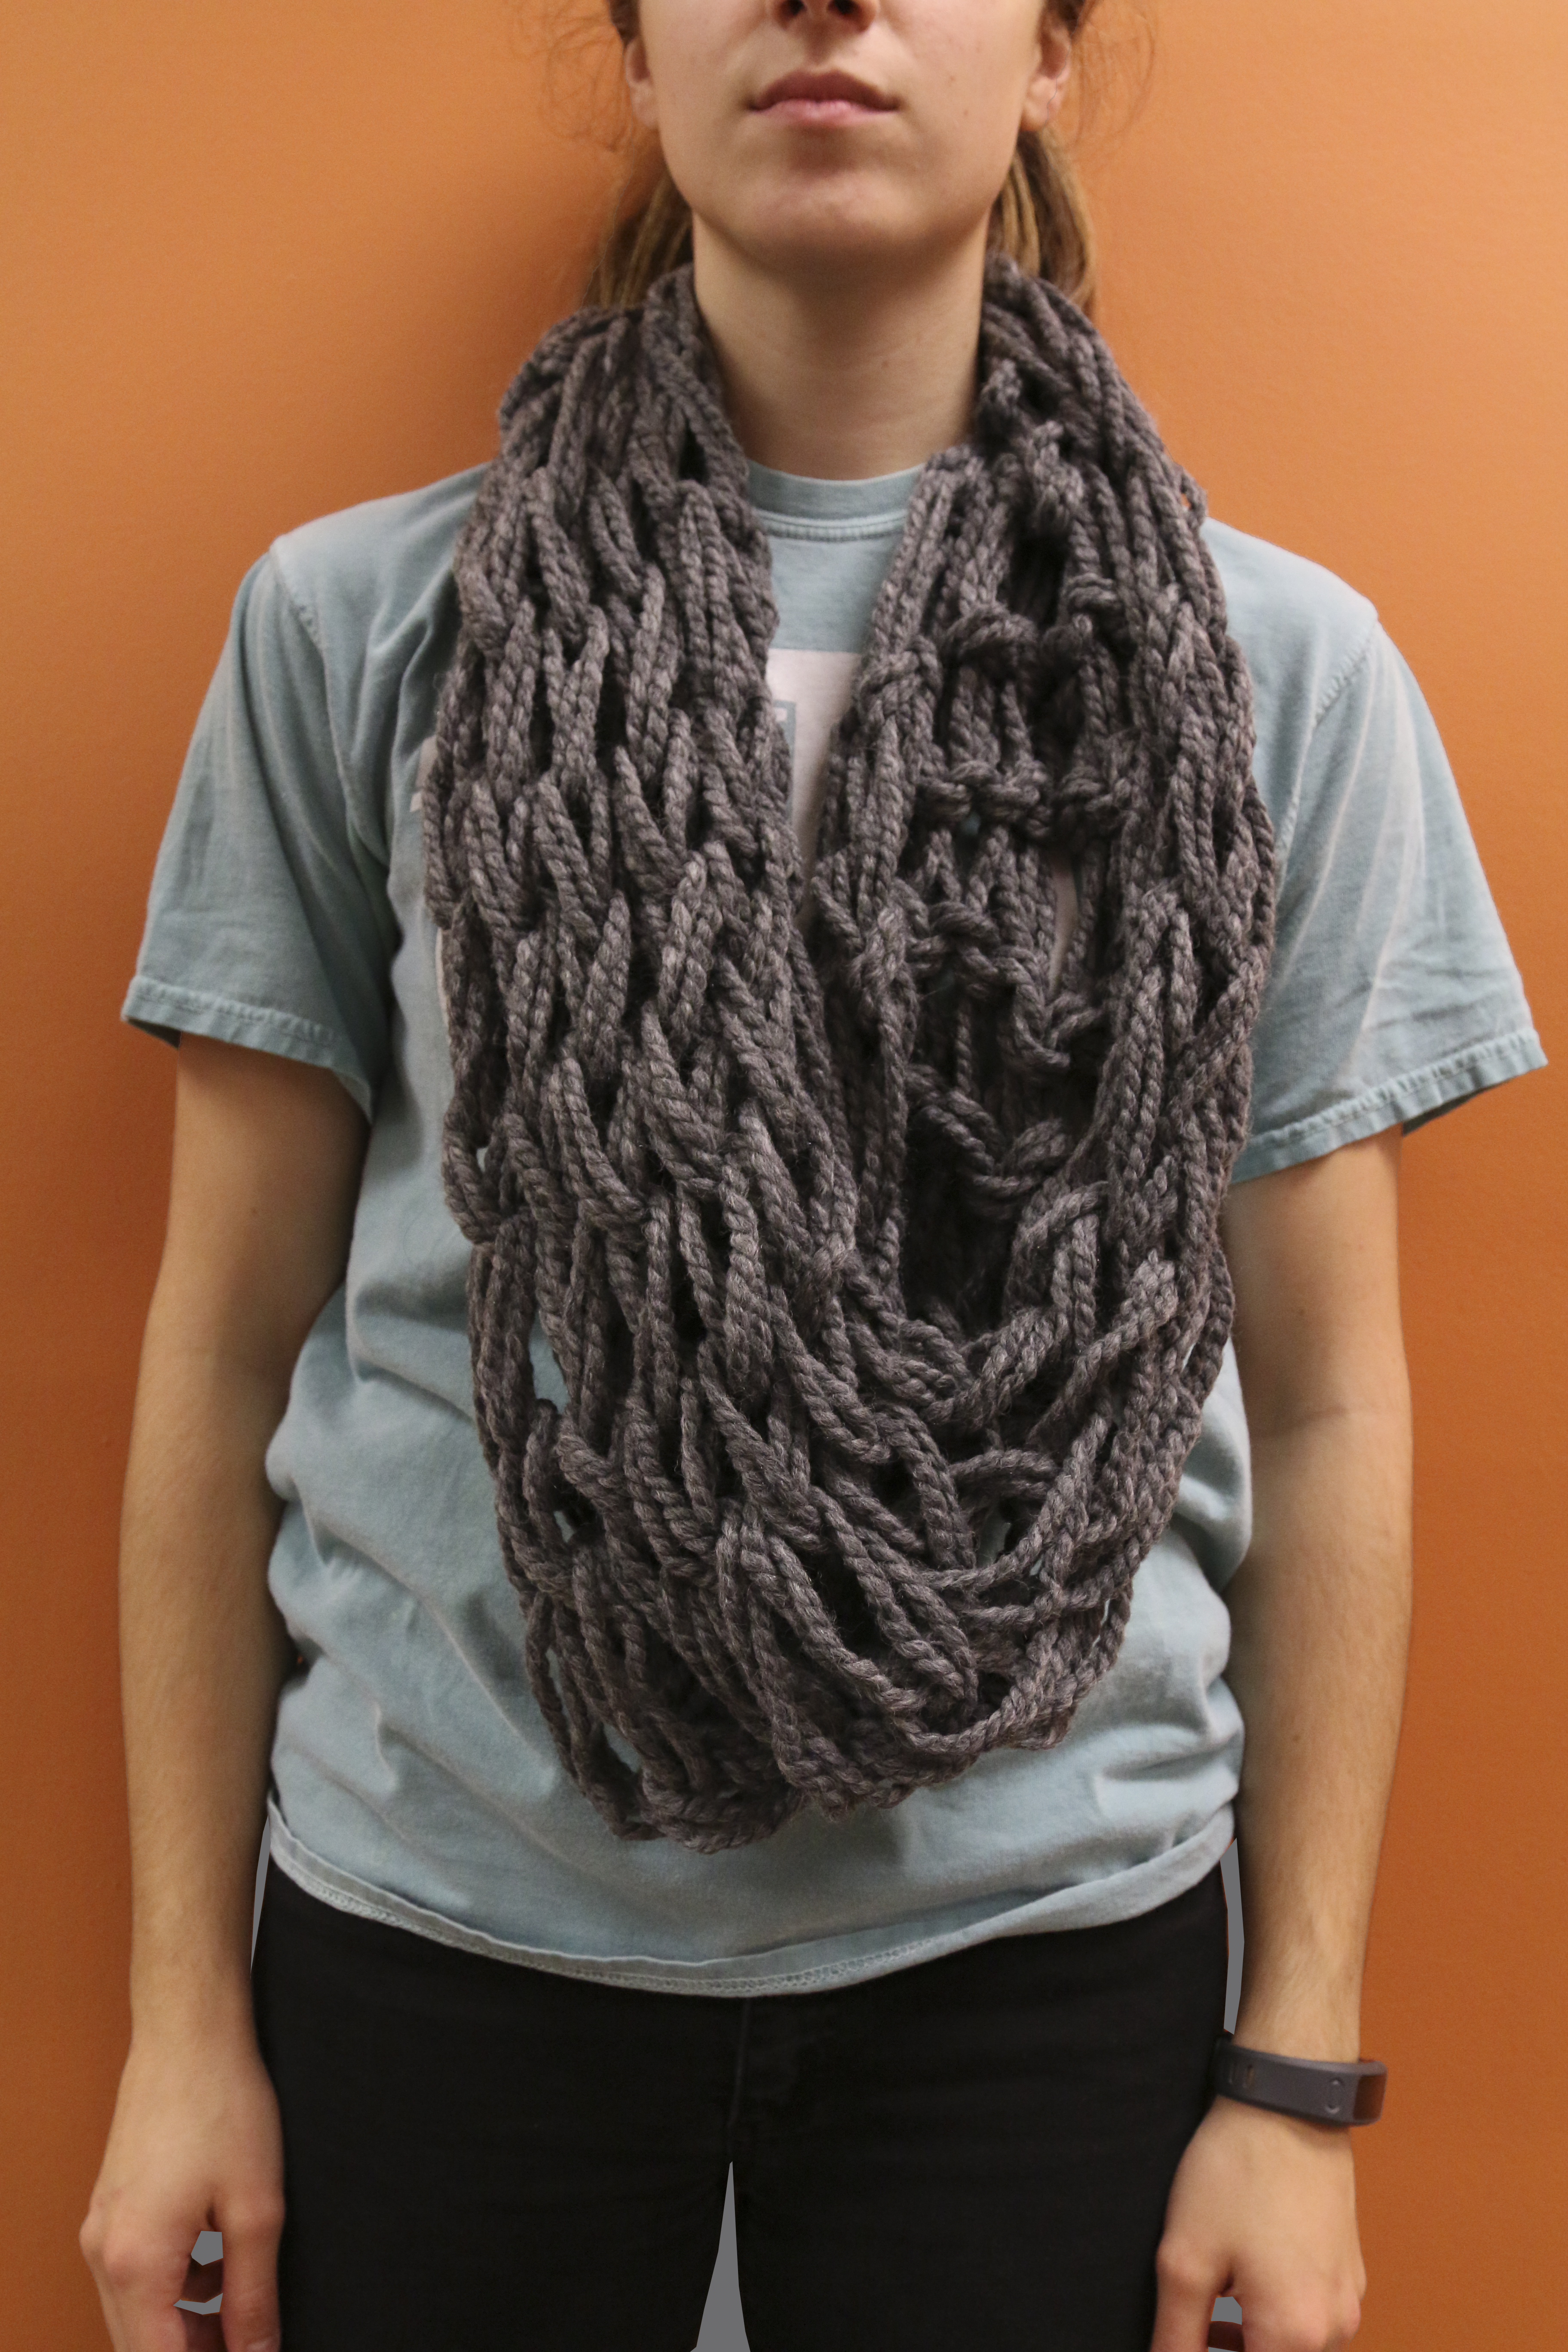
It’s a bit harder to explain than it is to do, and it might look a bit messy at first, but once you get the hang of it, it’s actually a really quick process. It definitely works better with bigger, fluffier yarn rather than the typical acrylic yarn that you’ll find at most stores. They make quick and easy Christmas gifts that people will definitely appreciate.
Leave a Reply