As a college student and as a journalist, I consume entirely too many calories drinking coffee and tea. I love drinking coffee and tea out of cute mugs, and my Instagram feed probably enjoys them as well. But, I cannot stomach paying $12 for one of Anthropologie’s adorable mugs. Plus, I can never find a mug that I absolutely love. So, one day while I was scrolling through my Pinterest feed, I came across a DIY tutorial for designing my own mugs. I was sold immediately.
There was a small problem, however. There were many different variations and versions of these sharpie mugs, and I wasn’t sure which ones would produce lasting cups where the design would not rub off from washing.
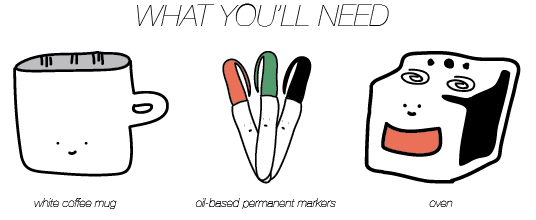
So the researcher in me devised a couple of experiments. The first question I wanted to test was whether oil-based sharpie markers were necessary or if normal colored sharpies could be used. The second question I had was whether it was necessary to oven bake the mugs once I was done.
 DIY Sharpie Mugs
1. Draw your design or quote using the oil-based sharpie markers.
2. Bake in the oven for 20 minutes at 200 degrees. Don’t forget to tear the paper price stickers off or they’ll melt to the bottom of the cup.
Six mugs later, I came to the conclusion that yes, oil-based sharpie markers are necessary and yes, you should bake them in the oven to prevent the marker from rubbing off.
This really isn’t a difficult project, but depending on if you used normal sharpie markers or didn’t bake the cup, the lasting results of your project could be very limited. It’s definitely a fun way to spend a couple hours and a great way to have unique-looking cups.


Leave a Reply