There’s an ongoing joke with my friends that my apartment looks like it could’ve come right out of a Pinterest board. I have self-painted canvas art and a variety of other decorative odds and ends sitting in my apartment — some haven’t even been hung up yet. However, since I moved in at the beginning of this year, I’ve had a random empty space on one of my walls above my canvases. So after almost a year of having a random empty space, I decided to take some of the burlap I accumulated from post-Christmas sales and add something decorative.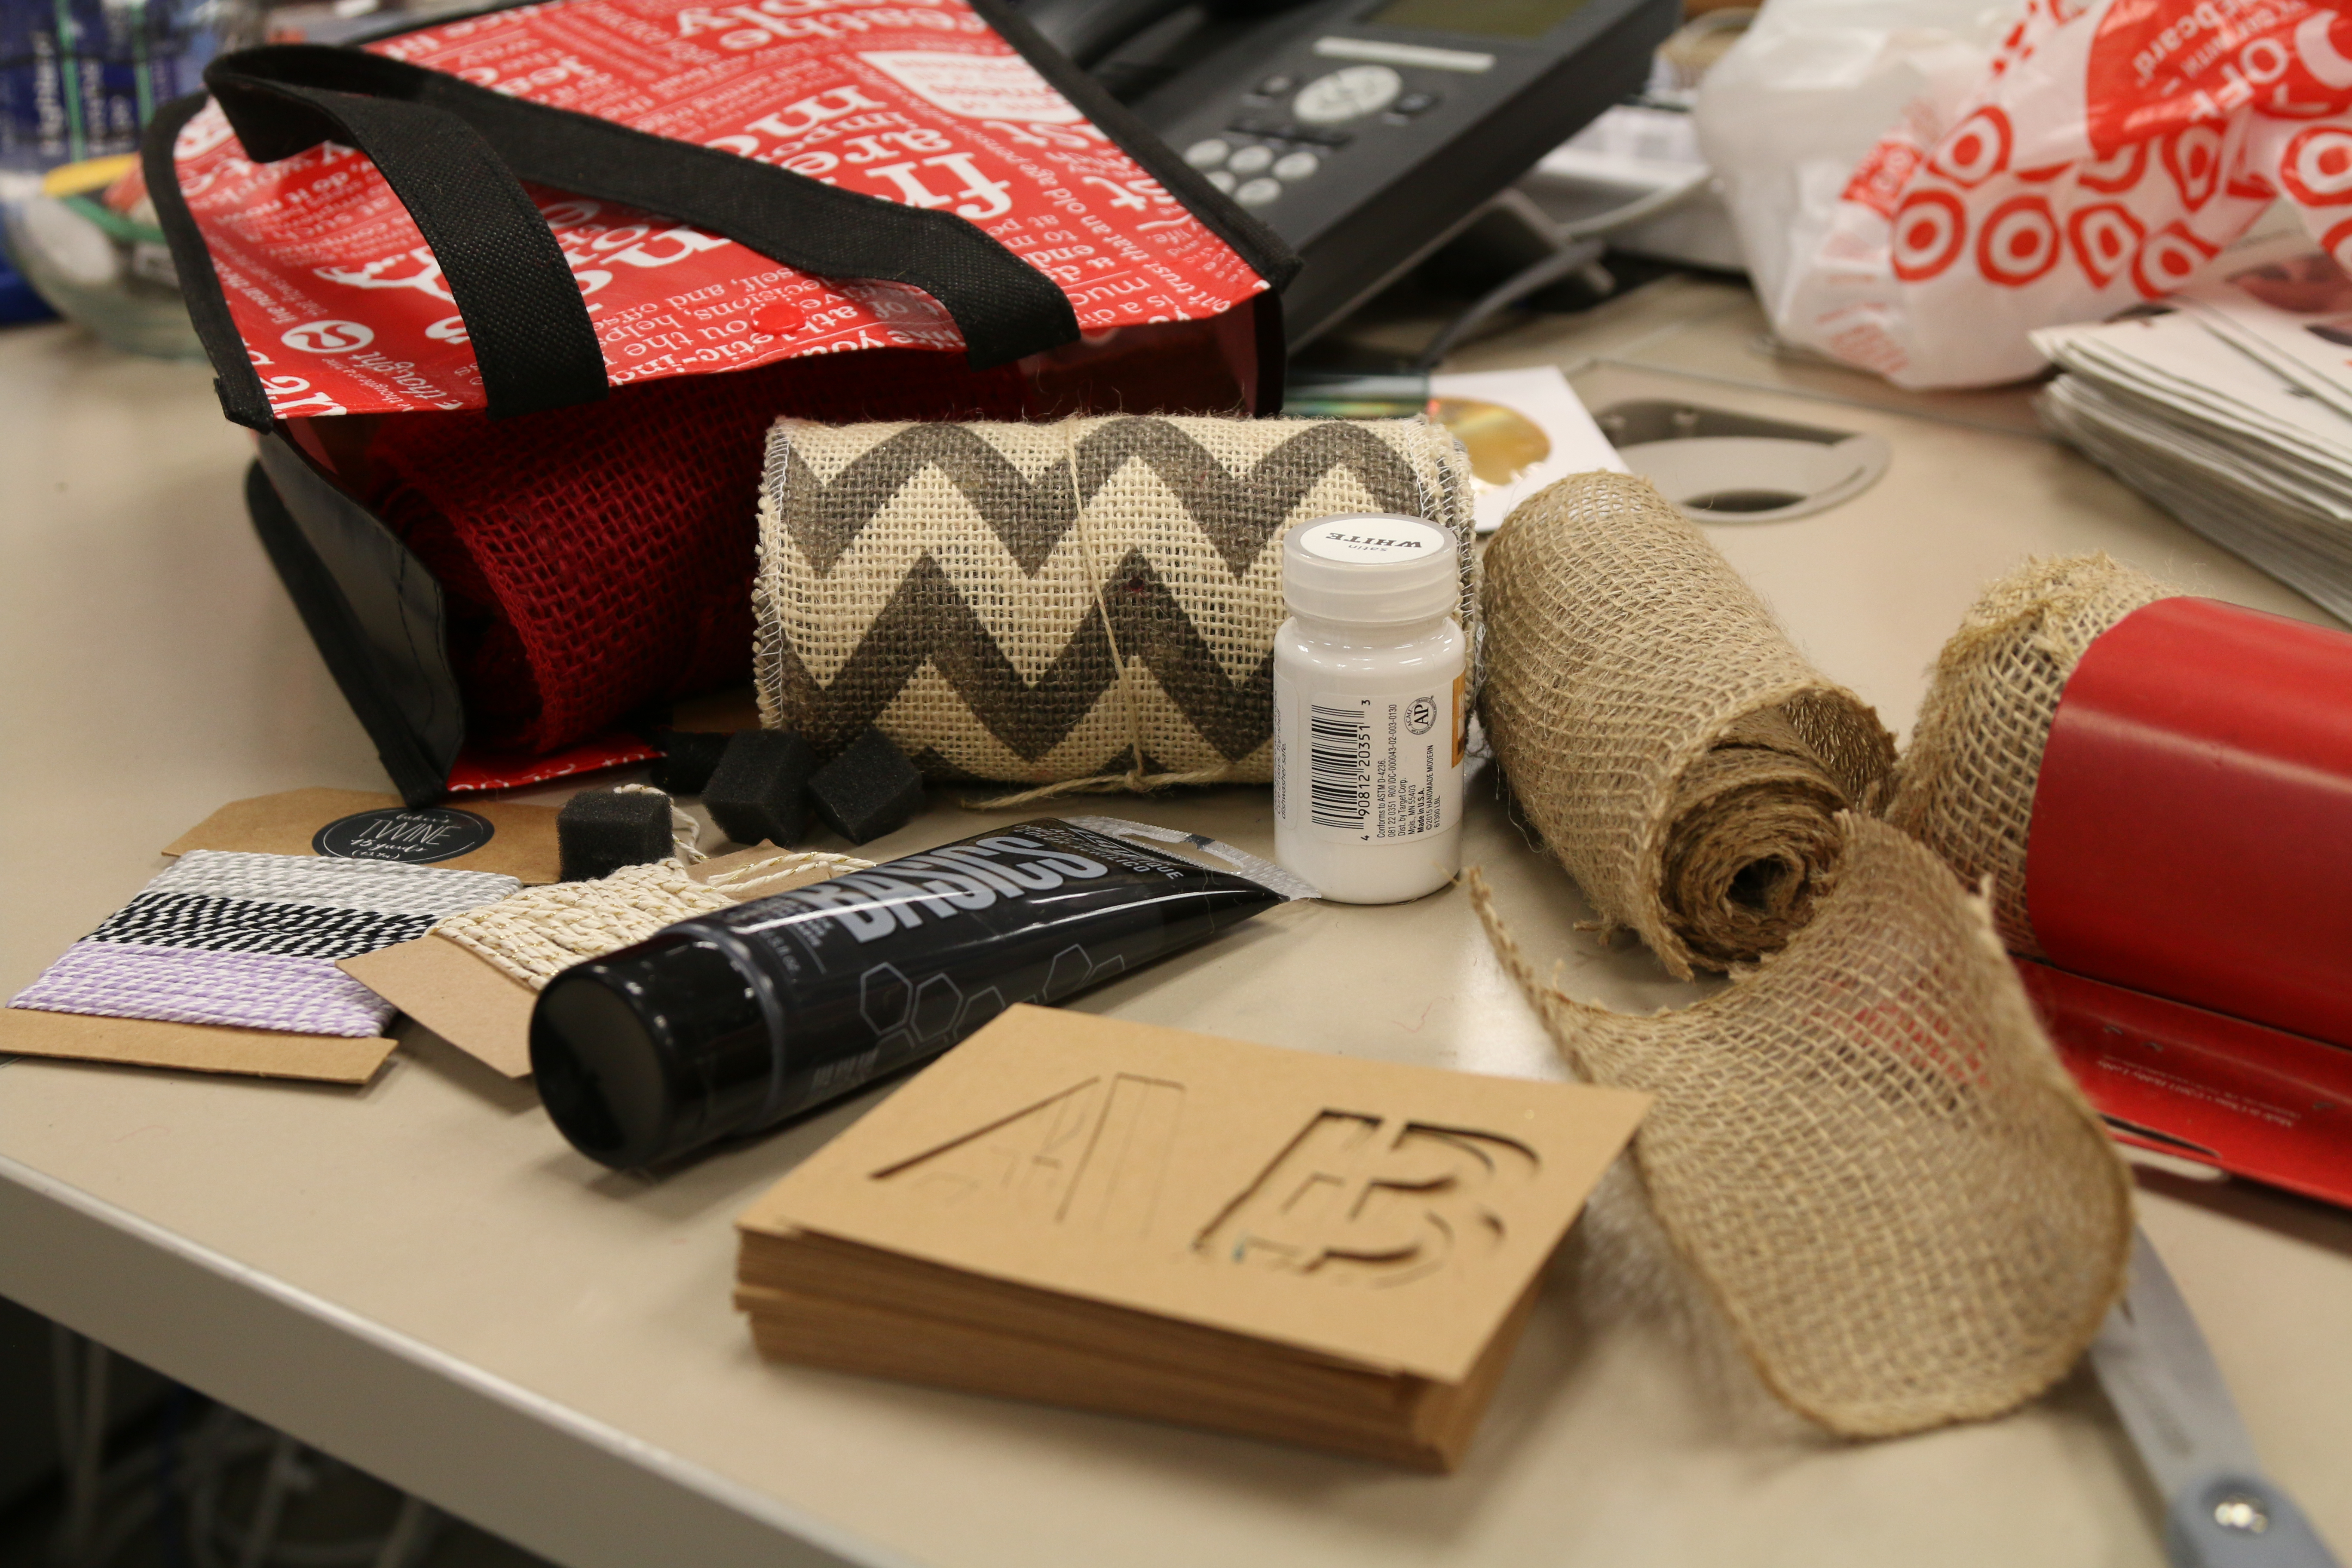
What you need:
– Burlap
– Stencils
– Paint and a sponge paint brush
– Twine or jute
– Scissors
– Hot glue gun
– Piece of white paper
Instructions:
1. Cut the burlap into triangles — one for each letter of the word you want to write
2. Use the stencil to paint the letters onto the burlap
3. String the completed burlap triangles onto the twine or jute
4. Secure the triangles in place with a drop of hot glue
Garlands have always been so pretty to me, so I was excited to finally get to tackle one for my apartment. I decided to paint the word “create” because I want my apartment to be a place of creativity both artistically and intellectually. I chose to make a burlap garland because, after seeing several DIY’s for different types of garlands, I liked the rustic feel of using burlap.
It’s kind of a difficult fabric to work with, however, because burlap has a lot of holes in it. I ended up making sure I had a sheet of paper below the burlap as I was painting. Another issue I ran into was that once you cut the burlap, the possibility of it unfraying is really high. Some tutorials I’ve seen suggest purchasing a defrayer to ensure that your garland lasts longer than just a few months. I don’t know if I’ll do that for my project, but it’s a possibility if you want something more permanent on your wall. This is also why I suggest securing the twine to the burlap with a dab of hot glue. That way, the burlap pieces stay in place as well.
Next time, I think I’d try to get stencils with prettier writing. It ended up being a pretty quick project, but ensure the paint drys before moving it around and adjusting it on the garland so the paint doesn’t get everywhere. Also, looking towards Valentine’s Day, it could be a good decoration with some red paint.
Leave a Reply