
Three summers ago, I did an internship at the University of Texas Medical Branch in Galveston. I enjoyed doing research, spending time working on my tan and meeting with the faculty and students at the school. It’s also the first time I noticed how popular longboarding had become. I saw several people longboard along the Seawall, a sidewalk area along the beach, and around campus, and I knew that I wanted to learn.
The problem was that I didn’t know people who longboarded. Soon after my internship, I befriended a guy who finally taught me to ride. Then I faced my second problem. As much as I enjoyed longboarding, my artistic side wasn’t a fan of the limited options for a board that I didn’t mind lugging to class every day. I finally settled on a Sector Nine board that did the trick, but one that I was always tempted to try and repaint.
I figured out how to ride with cowboy boots during those fall days, but I still wanted a board that reflected more of my personality, so when one of my Student Media coworkers came in with a handmade board, I eagerly asked if he could teach me how to make on. So now I have a board that’s fully my own and satisfies my artistic side.
What you’ll need:
- 1 plank of plywood—about 1 foot across and a several feet long
- An electric shaver
- An electric sander
- Drill
- Eye protection
- Grip tape—found at most skate stores or your local Zumiez
- Paint and paintbrushes
- Paint sealant
- Longboard hardware—trucks, wheels, bearings and screws
- A socket set, screwdriver and hammer
- Pencil
- A box cutter or some other similar razor
Instructions:
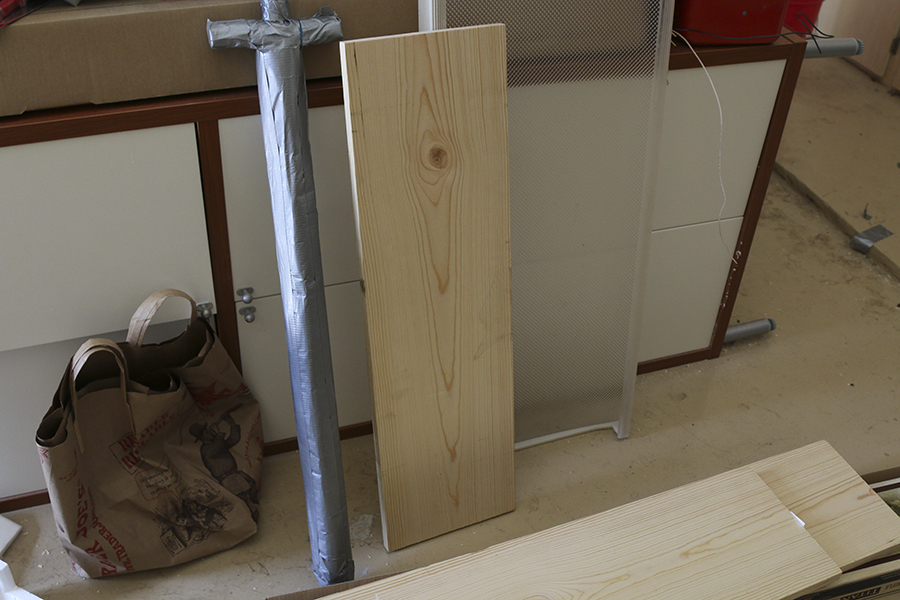
- Ask an employee at a hardware store to cut your plank into several mini planks. The sizing will be dependent on how long you want your board to be. Mine ended up being a little over 35 inches long to begin with which was shorter than my previous Sector Nine board.
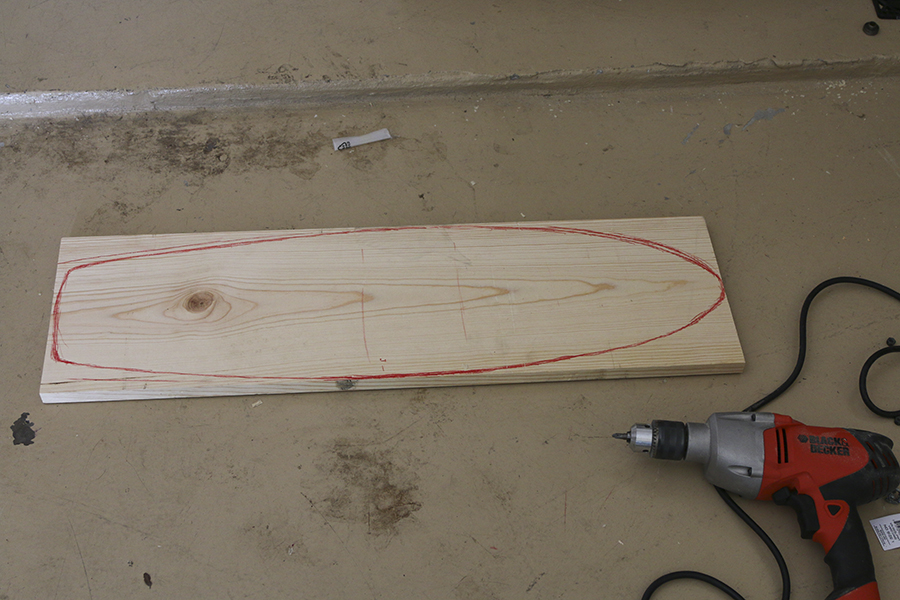
- Sketch out the shape of your board. Try to make the left and right sides of the board as symmetrical as possible for balance.
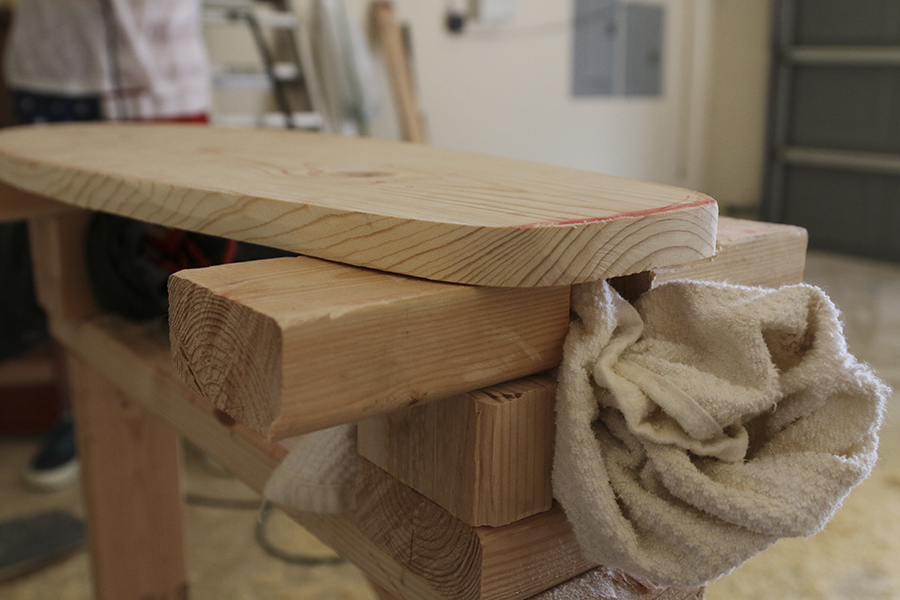
- Using the electric shaver, shape the board as close to the outline you sketched as possible. It doesn’t have to be perfect because after that, you will use the electric sander to smooth out the edges and finish the fine detailing of the board. Again, you’ll want to pay attention to the weight of your board and try to make both sides even.
- Drill the holes for the longboard hardware. I bought a set on Ebay for about $50.
- Draw a line down the center (this is why symmetry is important) and estimate where you want your trucks to be. Carefully mark the holes on the trucks.
- Drill the holes.
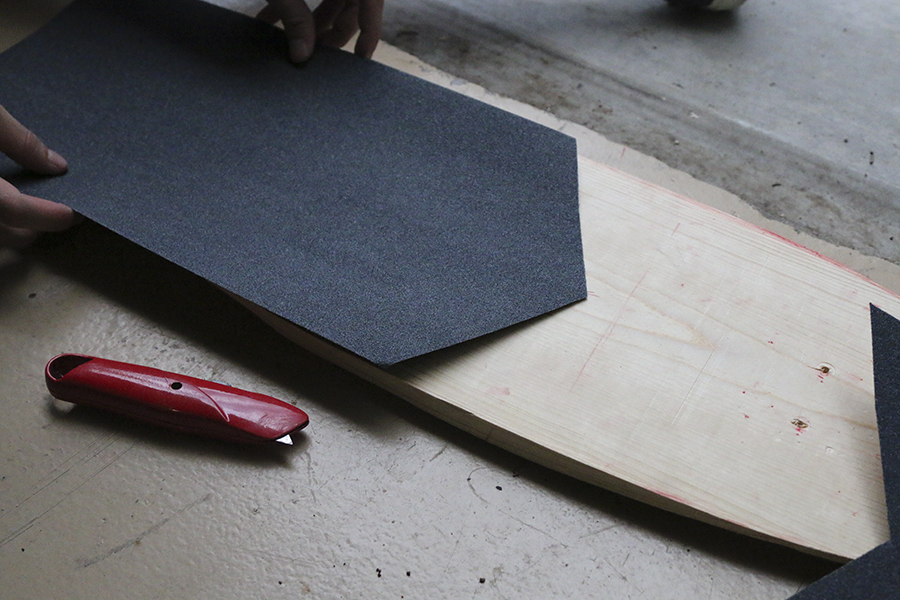
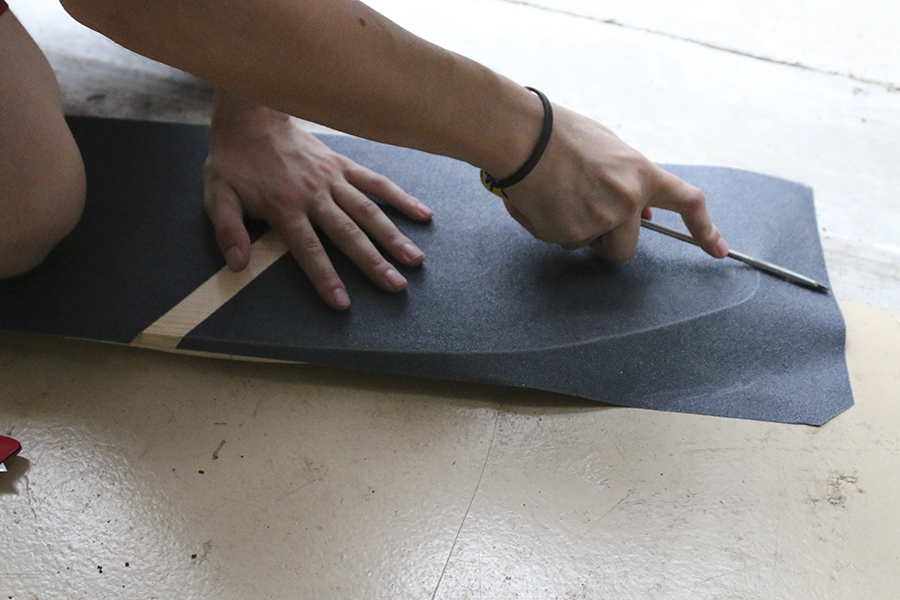
- Now we’re going to put on the grip tape. I wanted a simple design on my board, so first I cut the grip tape in a V-shape right about at the middle of the grip tape. For anything more intricate than a few cuts, you’ll need a laser cutter.
- Put your board on the ground with the side you want the grip tape on facing up and you gently lay the piece (or pieces) of grip tape on it.
- Cut the excess grip tape off and used a screwdriver to help get the smaller pieces of grip tape off. Use the excess grip tape to sand the sides of the board to give it a more even feel. Then sand the entire board to give it a softer wood feel.
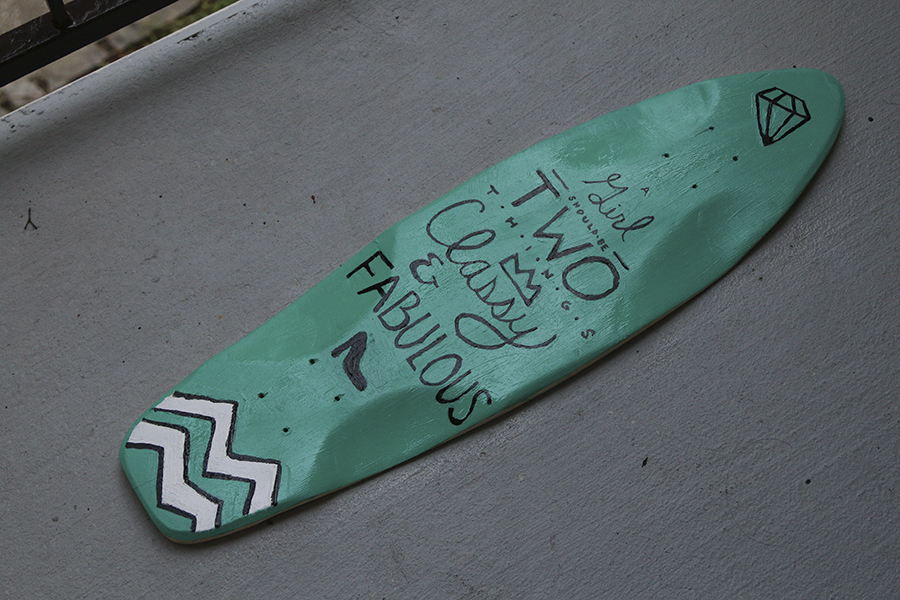
- When I painted my board, first I painted a couple coats of the background color I wanted for my board. I waited for each coat to fully dry before putting on the next coat. Then I painted on the design.
- After I was happy with my design, I took it outside and sprayed it with a couple coats of paint sealant, waiting a couple hours in between each coat.
- I attached the trucks and wheels and screwed it into the board using the instructions included with the set.
And there you have it—a handmade longboard. Of course, it’s not as fancy as one you would buy at a skate store, but it was cheaper and there are other adjustments that can be made to make it sturdier such as layering the wood and pressing it. Arm strength is necessary for this project because being able to control the power tools with one hand turned out to be necessary for precision. I’m happy with the final product, but unfortunately, with the exception of riding around the mall area with my longboard, I can’t get very far with all the construction on-campus. But hopefully when these 110-degree days become closer to 70, I can break out my board and just ride around campus lost in my thoughts.
Advertisement

Advertisement

Advertisement
